Burning the Image onto Memory Card
- /
- /
- /
Burning the Image onto Memory Card
Please note: We use the open-source program Win32Disk-Imager simply for illustrating the steps in this article. You may, however, use any other software (e.g. Etcher) to burn the image file onto your memory card, but please remember that in this case these instructions are not necessarily applicable in every detail.
Step 1:
Download the Max2Play image file from the download page on our website. Please make sure you download the correct image.
Step 2:
Unpack the .zip-file you have just downloaded. It contains the .img-file which is the actual Max2Play image.
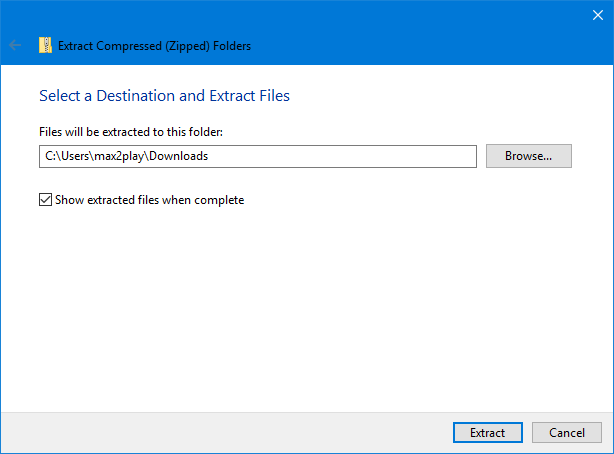
Step 3:
Insert your microSD-Card into the Card Reader that is connected to your computer. Depending on your particular hardware it might be necessary to use a microSD-to-SD-Card adapter in order to be able to insert the microSD-Card into the card reader. Make sure to check the lock switch on the upper left side of the adapter to make the sd card writeable.
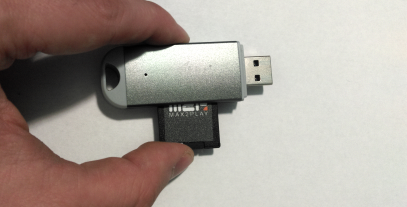
Step 4:
Start Win32 Disk Imager, which requires you to have administrator privileges. Please enter the user credentials in case you get asked by the Windows User Account Control (UAC).
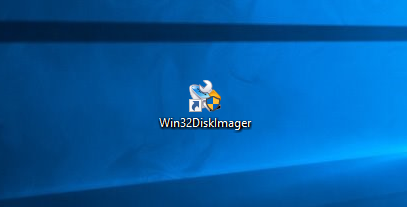
Step 5:
Select the image file you have previously unpacked.
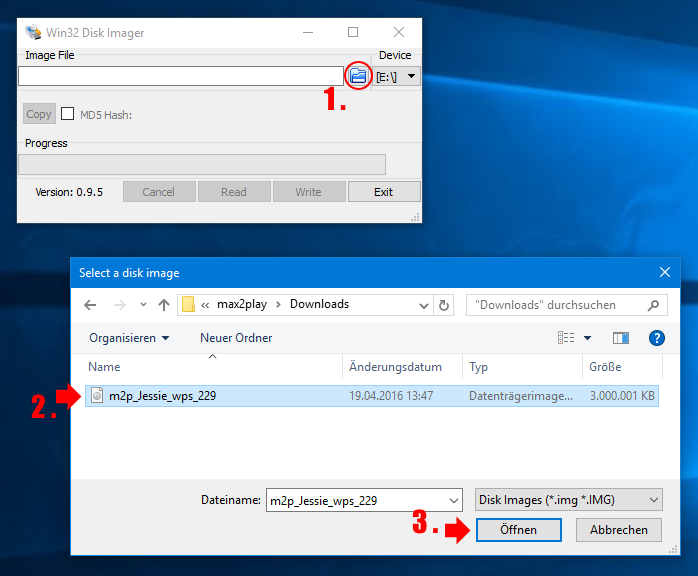
Step 6:
Select the microSD-Card you want the image file to be written onto from the dropdown menu.
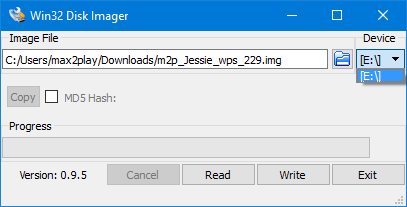
Caution: Please be certain about the selected device. Writing the image file will erase all data on the selected device. We highly recommend to unplug other external storage devices apart from the microSD-Card in order to avoid any unwanted loss of data.
Step 7:
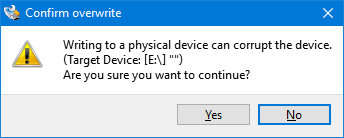
Click on „Write“ and confirm the warning message by clicking on „Yes“.
Step 8:
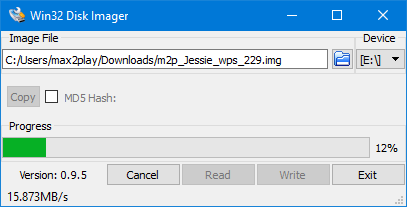
The writing process will start immediately and may take up to a few minutes to complete, depending on your hardware. Wait for the progress bar to reach 100%.
Step 9:
Close the program after the writing process has finished and unplug the microSD-Card from your computer.
Step 10:
Insert the microSD-Card into the microSD-Card slot of your Raspberry Pi.
