In this article, we will show you how to assemble the black steel case by HiFiBerry.
Delivery Scope
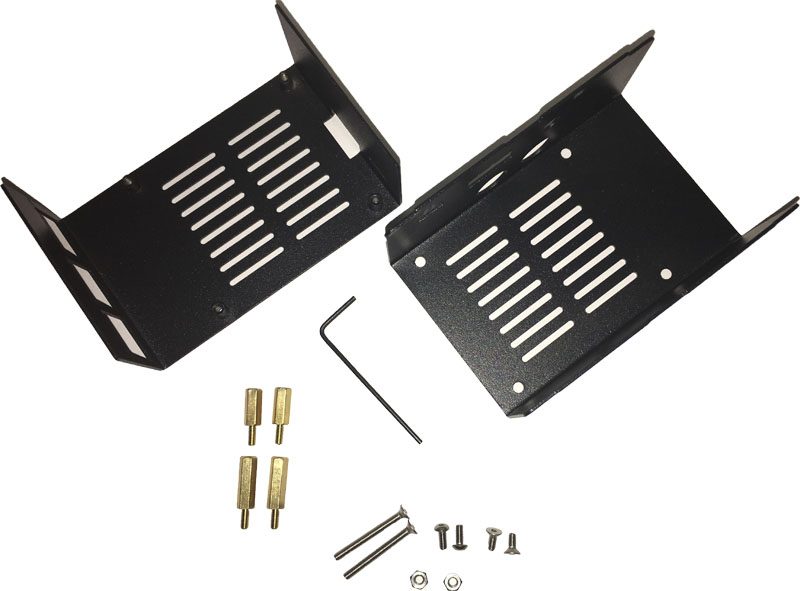
Case for Raspberry Pi and HiFiBerry Digi+ (Pro/Transformer)- 2x spacers (20mm)
- 2x spacers (16mm)
- 2x screws (24mm)
- 2x screws (5,5mm) with flat screw head
- 2x screws (7mm) mit round screw head
- 2x nuts
- 2x washers
Also required:
Step 1
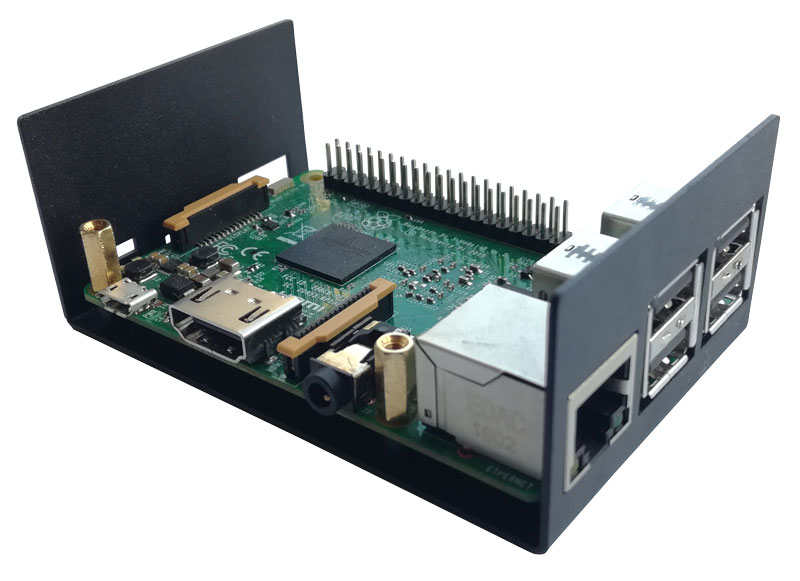
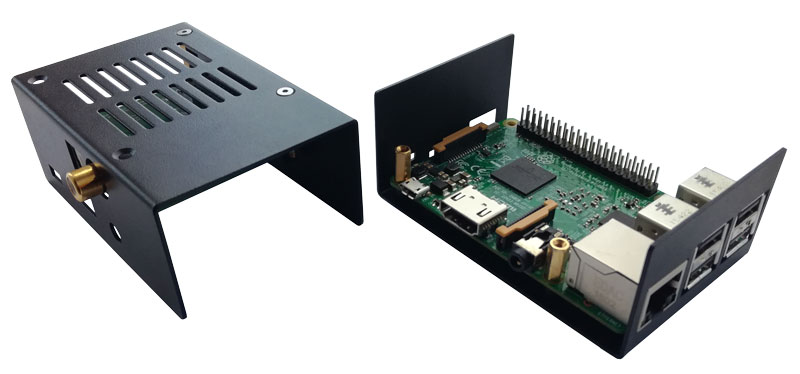
Firstly, the Raspberry Pi is placed on the bottom panel. You can discern the bottom plate by its holes for the USB ports and the LAN port. To fix the Pi on the plate, use the short spacers (16mm) and the screws the round heads (7mm). The Raspberry Pi can now be screwed firmly on the plate.
Step 2
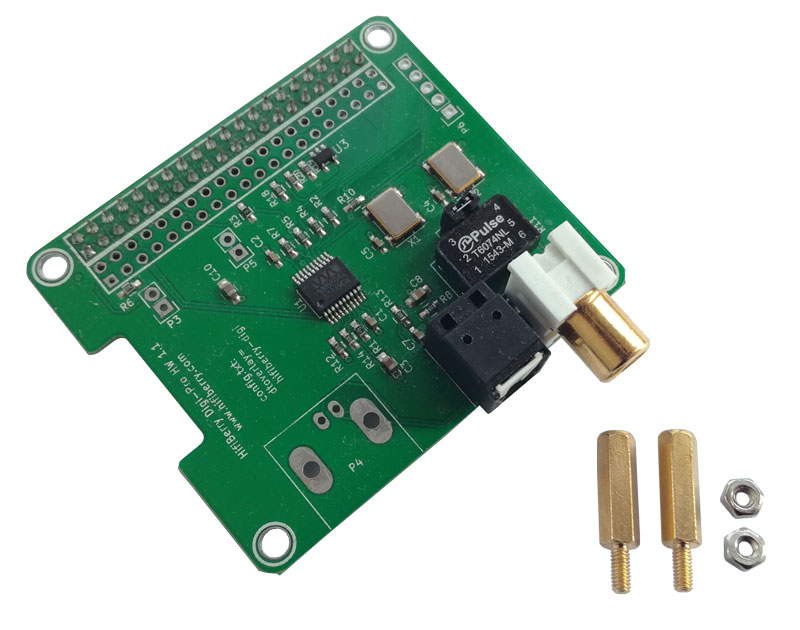
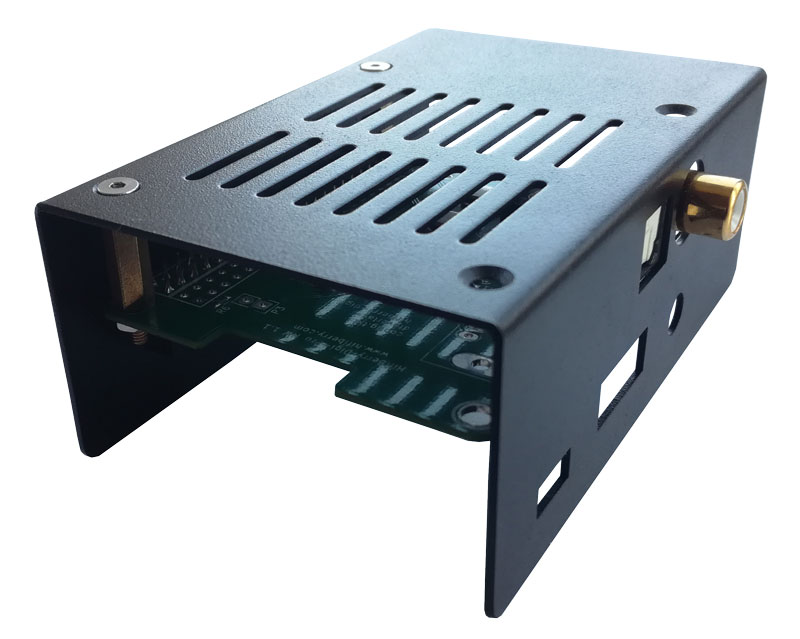
In step 2, the sound card, in this case the HiFiBerry Digi+, is fixed on the top panel. The longer spacers (20mm) with nuts are screwed on the side of the GPIO-Pins of the HiFiBerry.
Step 4
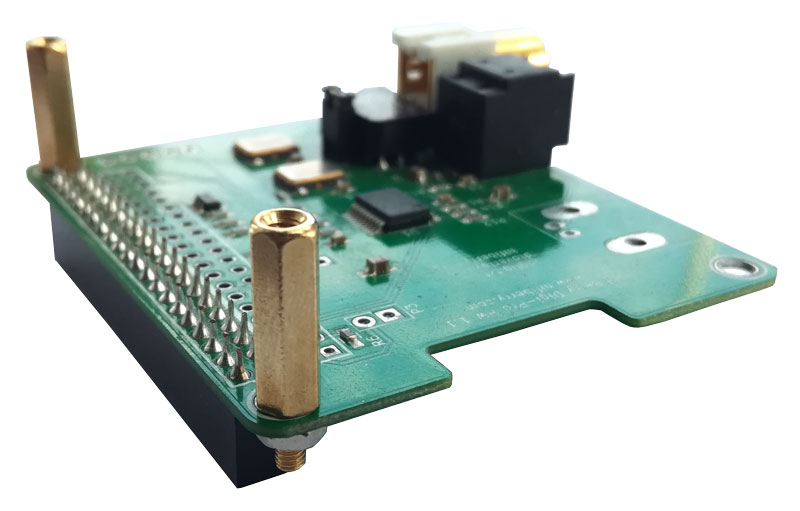
In this step, both components need to be put together. Be cautious with the GPIO-Pins. These should fit the black strip on the sound card. Do not exert too much pressure to make sure the GPIO-Pins are not bent out of shape. Once everything fits, just slide the case parts together and make sure the 3.5mm audio jack is in its hole in the case and accessable.
Step 5
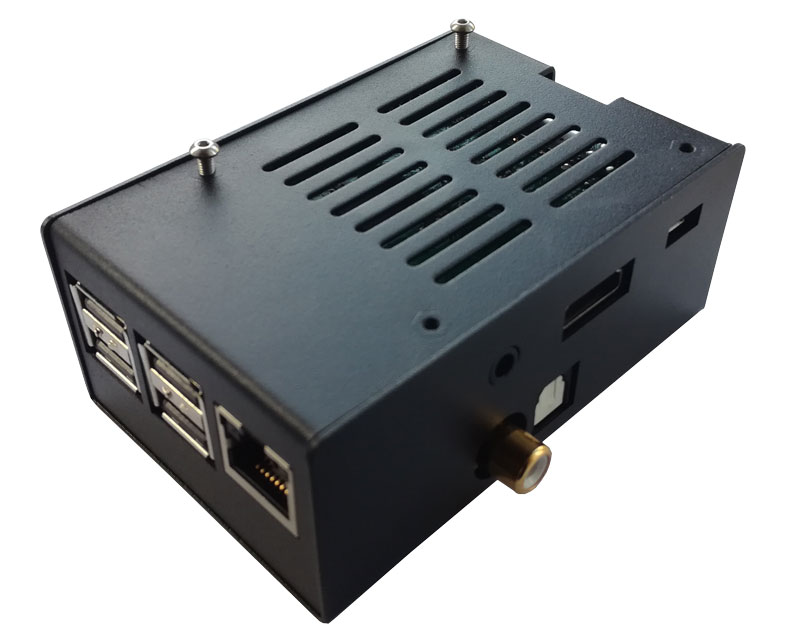
In the last step, the remaining screw are fixed on the case. The long screws (24mm) are, as pictured, screwed on top of the case. The short screws with the round tops are screwed into the bottom panel from below. Please make sure that the screws are not screwed into the bore holes that also house the spacers of the Raspberry Pi. Please, again, use the picture for guidance.
Step 6
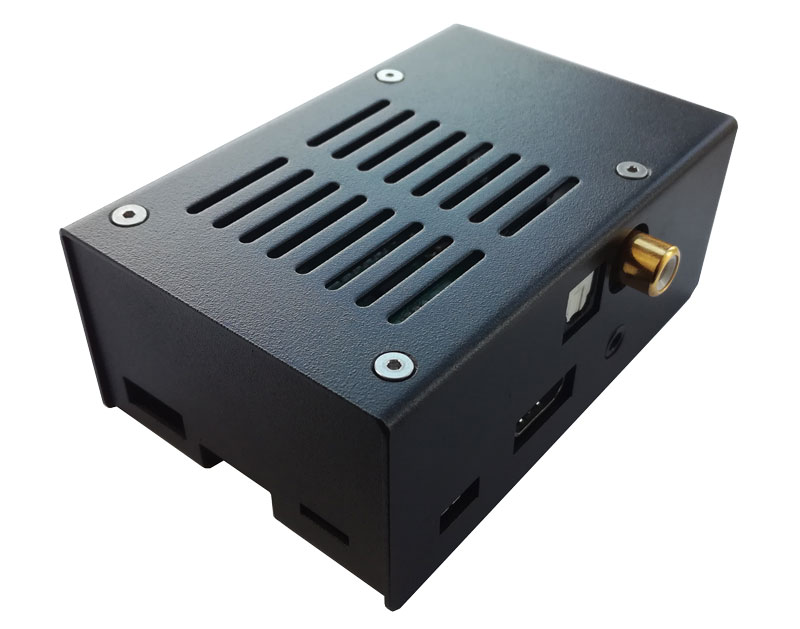
This is what the case should look like, once it’s been assembled. The case convinced us especially with its robust material.
Here, you can buy the black steel case for HiFiBerry Digi+.
Click here for all the other case assembly instructions.

