Hi Max2Play-Users,
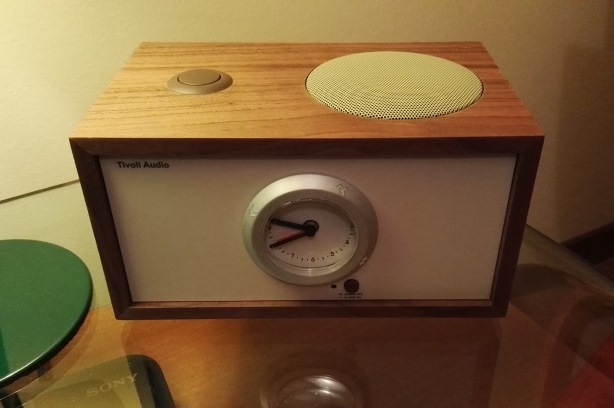
Today, we have a very special project to share with you. The Tivoli Dual Alarm Speakers by Riccardo Raponi!
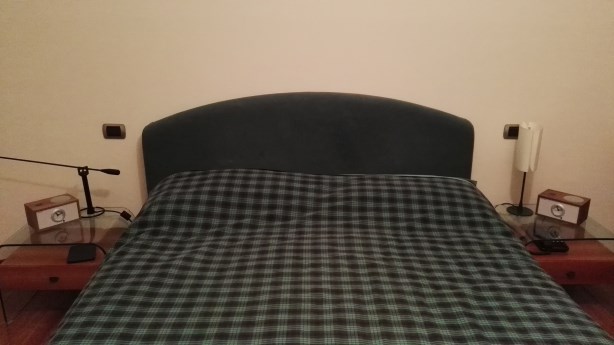
This award-winning project uses two Tivoli speakers with built-in clock to produce high fidelity music with both Tivoli’s producing either side of the stereo sound.
To accomplish this setup, Ricardo used Raspberry Pi Zero Wireless‘, HiFiBerry MiniAmp’s and, of course, Max2Play. Enjoy!
Heiner
Formatting by Kolja
Inspired by the Pippin project, creator of iPeng, I wanted to recreate a much simpler system to be realized by almost everyone. The Tivoli Dual Alarm is an additional clock module to the Tivoli Model Three system. Inside, there is the clock alarm and a speaker that connects to the Model Three which contains the amplifier.
On eBay, I found two new Tivoli’s at a very low price. So I decided to put a Raspberry Pi Zero Wireless with a HiFiBerry Mini Amp in either one of the speakers and connect them to get stereo sound. Ideal for the bedroom (especially with a double bed).
Assembly
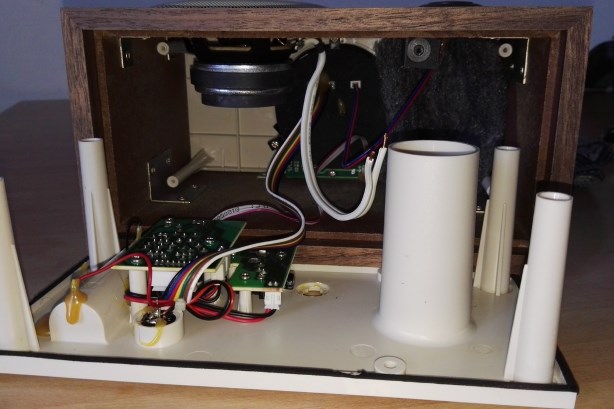
Add the Raspberry Pi Zero W and the MiniAmp, using the 40-pin header like this. The system does not require soldering (just use a little force and a little care!), just spacers to join them.
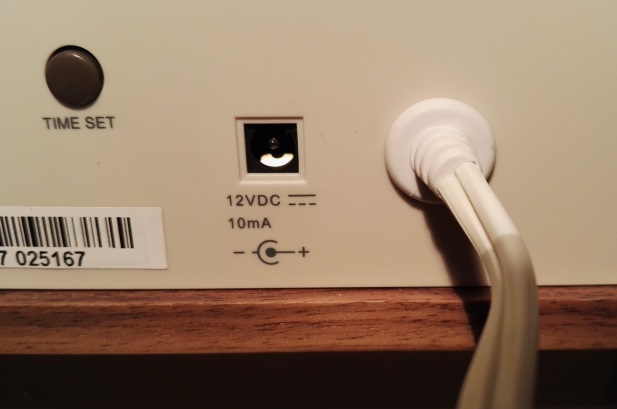
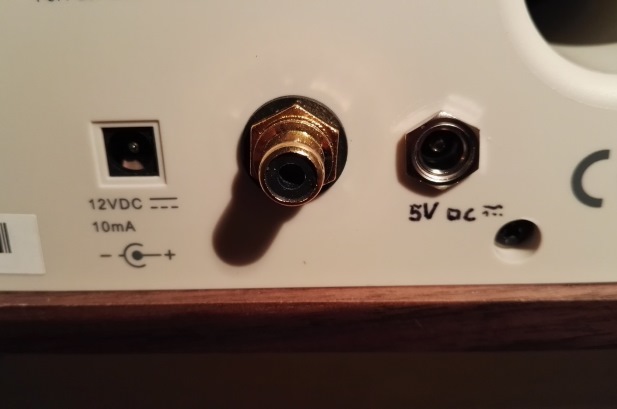
Remove the rear panel by unscrewing the 6 screws and detach the speaker cable. Then, insert it into the hole left the RCA jack to connect the other Tivoli. Beside that, make a second hole in which to insert the 5 Volt socket that will power the Raspberry.
Inside, you have to solder a piece of cable to the rear of the RCA jack (the other end to one channel of the MiniAmp), and another to the rear of the DC socket to power the RPi Zero W (I sacrificed a microUsb cable).
To fix Raspberry Pi Zero W and Mini Amp within the Tivoli, I preferred to use adhesive Velcro for a chance to remove them, in case of a possible replacement of the microSD card.
The interior of the Tivoli is not very spacious for the presence of the components of the watch, the pipe of the bass-reflex and a minimum of soundproofing material.
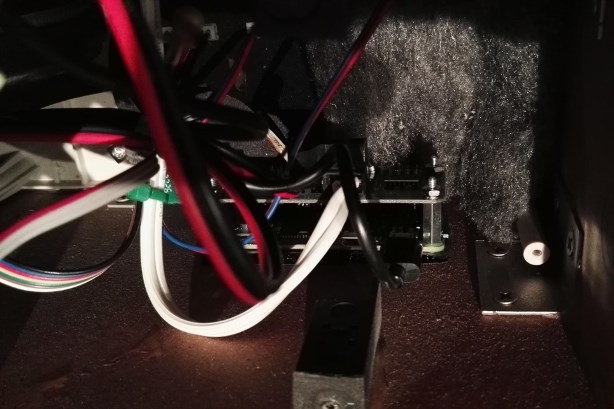
I preferred to stick the Velcro on the bottom of the Tivoli to keep the Raspberry away as much as possible from the speaker magnet. In the picture, you see the Raspberry, albeit covered by cables, attached with a Velcro strip.
In this manner, I left the clock separate from the audio: You can use the alarm clock as well, if the RPi is off, or you can use the alarm of the Squeezebox Server (see Stefan’s article and the Voice Control Plugin) instead of the beep-beep!
Lastly, use a 5 Volt power supply of 1 Ampere minimum. (2 Ampere is recommended).
The Software
This system will be a simple audioplayer (the Raspberry Pi Zero is not powerful enough to operate as a music server), so I use Max2Play with the “Starter configuration”.
The advantage of using Max2Play is that the wireless configuration is possible without monitor and keyboard: at the first boot, the Pi Zero W puts itself in Access Point Autostart Mode, so you can connect a smartphone and immediately configure the basic settings to access your local WiFi. Check the Max2Play website to get more details.
Also make sure you select the right audio card. In this case the HiFiBerry Miniamp operates as HiFiBerry DAC+ Light. (A regular selection will be added soon)
In Logitech Media Server preferences (again, check Stefan’s article), you can set multiple clock alarms for this Tivoli clock and wake up with your favorite playlist.
That’s All!
Conclusion
If you can find the Tivoli at a good price, the system is simple to implement and is perfect coupled with the HiFiBerry MiniAmp. The sound is very very good for its size and the volume fills a room with no problems. Don’t forget that we are talking about a bedside speaker!


