DAC+ Drilling Template
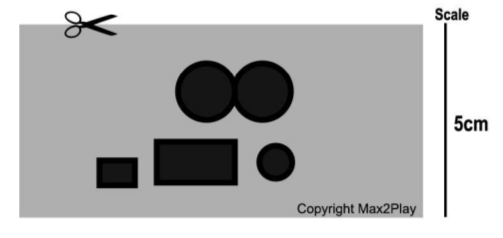
Here you can download a template for drilling HiFiBerry DAC+ holes on the 7inch Raspberry Pi Display Case.
Download “Template for drilling DAC+ holes into 7 inch Raspberry Pi Display Case” pattern_display_case_7_hifiberry_DAC-EN.pdf – 2390-mal heruntergeladen – 30,56 kBDigi+ Drilling Template
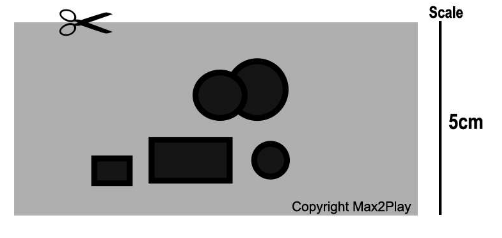
The template for drilling HiFiBerry Digi+ holes can be downloaded here.
The case is also available in our shop.
Download “Template for drilling Digi+ holes into 7 inch Raspberry Pi Display Case” pattern_display_case_7_hifiberry_Digi_EN.pdf – 2139-mal heruntergeladen – 29,90 kBManual (Instructable)
Our 7 inch Display Bundle Instructable (Manual) is available here.
Short Manual for the Max2Play 7 Inch Display
Step 2
Bore Holes for the Audio Output of the HiFiBerry DAC+
Put the drilling template on the case and make sure it matches the already existing slots (audio jack output, HDMI and power supply). Then mark the fields that need to be cut out for the DAC+’s outputs on your display case.
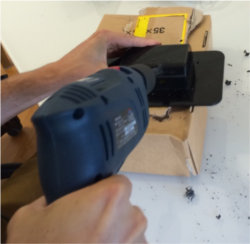
Bore through the marked spots with a drill. Subsequently, check if the case fits the hardware system without any complications. If it does not, extend the holes until the case has no more resistance when put on the Pi with display and DAC.
Step 3
Enjoy Your New, Elegant Touchscreen Device with High-Quality Sound and Simple Touch Control
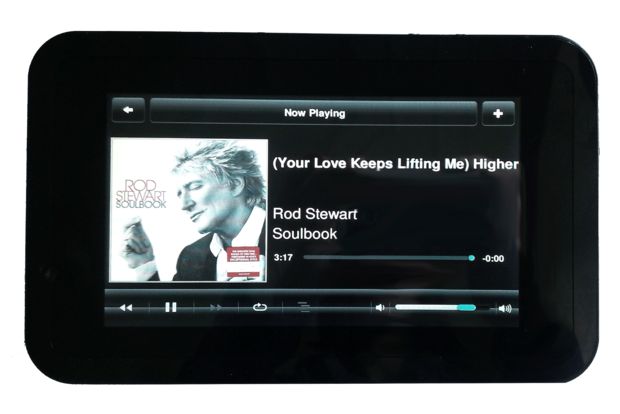
Put the microSD card into the Pi’s SD slot. It contains the preconfigured Max2Play Image. Put the case together and connect the power supply and network cable. Once the Pi is booting, the touchscreen will start to display the Jivelite menu. Just start your favorite radio channel, podcast or playlist.
Important: Select the Joggler Skin specifically designed for the 7 inch Touchscreen when first starting Jivelite!
1 Comment
-
Thank you this helped out. But I have the IQaudIO and just had to change it some. I have not drilled it yet. Still waiting on the Stand-off’s need for this IQaudIO to mount on it. The ones that came with it will not work when have the 7″ Touchscreen with it too they have to be stacked.
-Raymond Day


